OUR CURRENT PROJECTS
GRANOLA
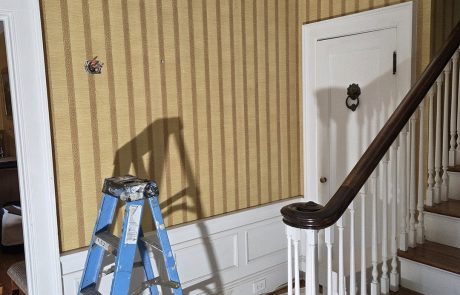
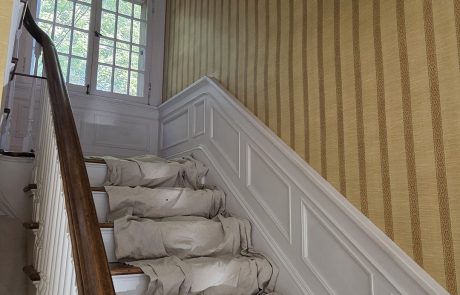
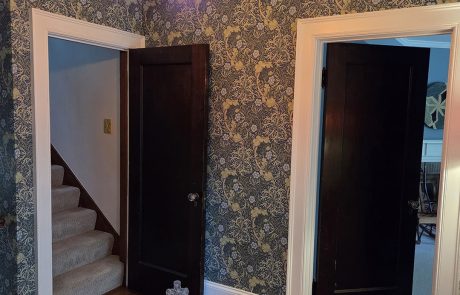
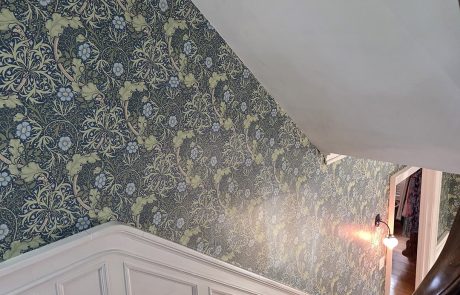
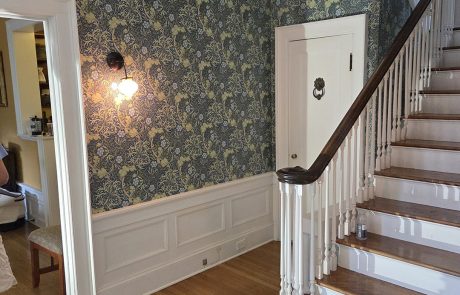
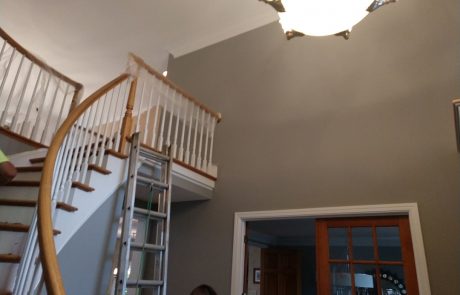
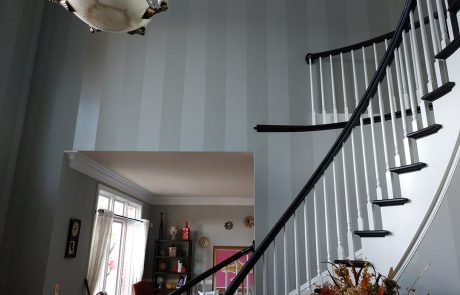
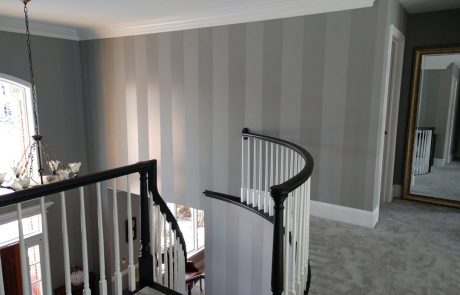
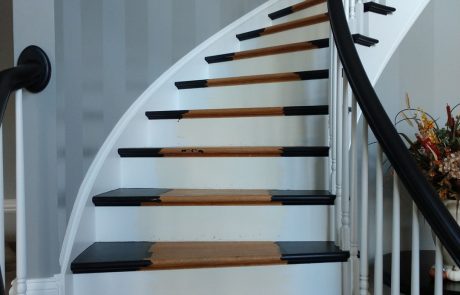
Chris Dougherty, Bob Mossman and I removed wallpaper and installed new, in a really nice home in the city. It was a foyer, stairwell and upper hall. The stripes were the original paper and the floral is the new. The home owner made the most delicious granola. I got the recipe.
QUICK EASY JOB
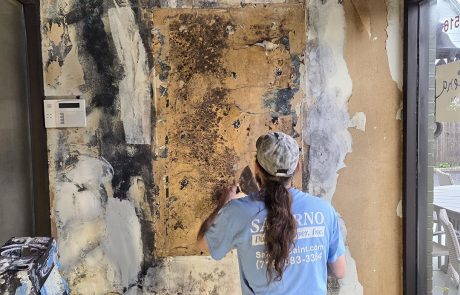
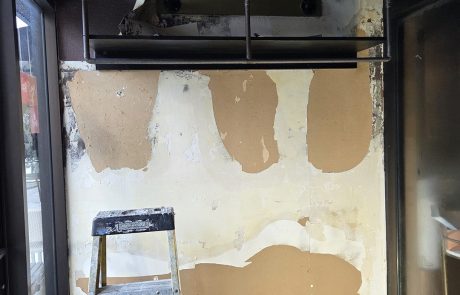
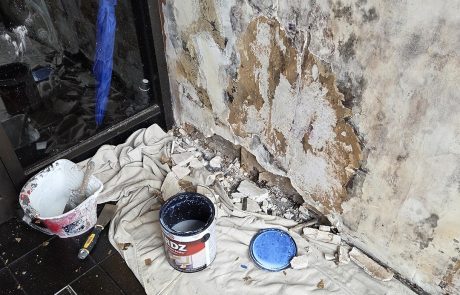
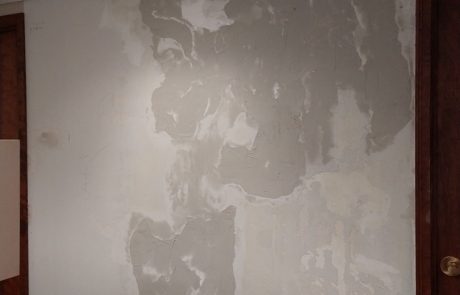
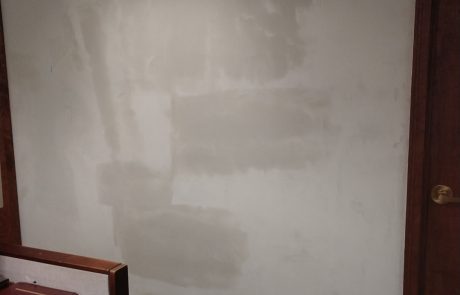
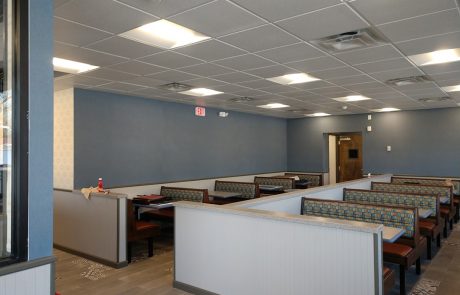
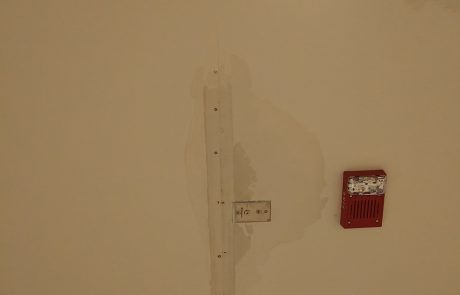
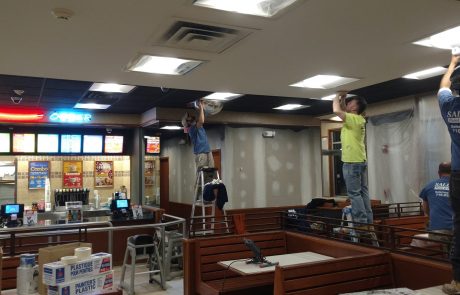
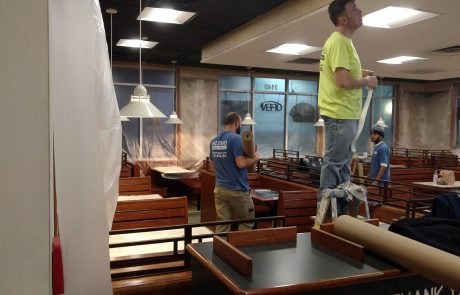
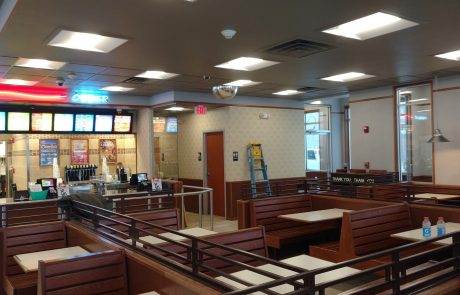
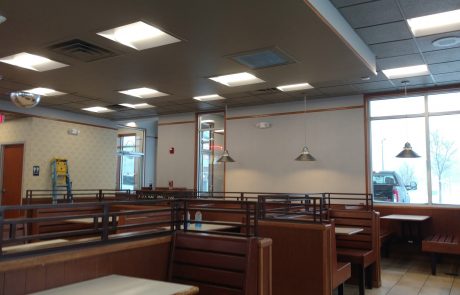
Got a call from a restaurant friend. He had 2 walls with wallpaper that he wanted stripped and new wallpaper installed. He figured it would take half a day. When I got there the wallpaper was peeling off the one wall. I finished removing and the wall was so water damaged we had to replace the drywall. The other wall just needed some skim coat. We also replaced baseboard. Half day turned into almost 2 and a half days.
Wallpaper is Making a Comeback!
Bob Mossman and I have been hanging a ton of wallpaper. Not just commercial. We have been installing in homes.
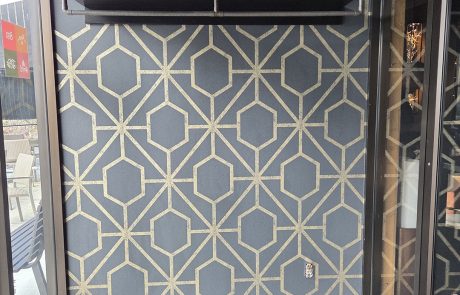
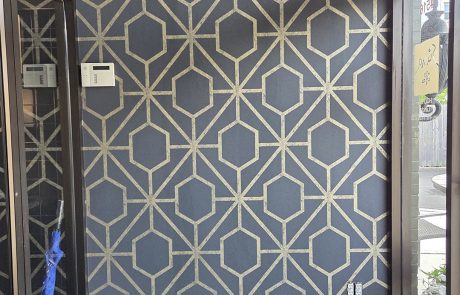
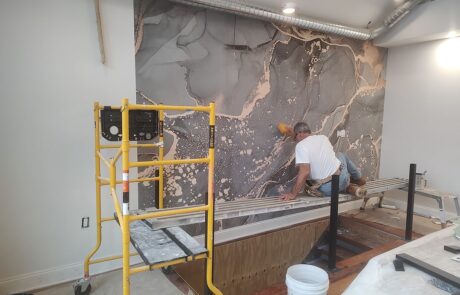
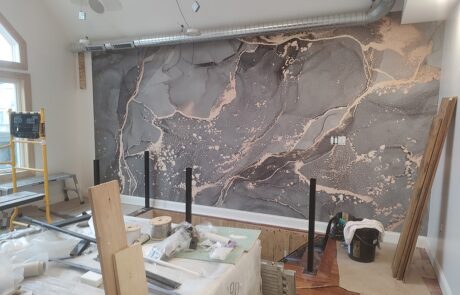
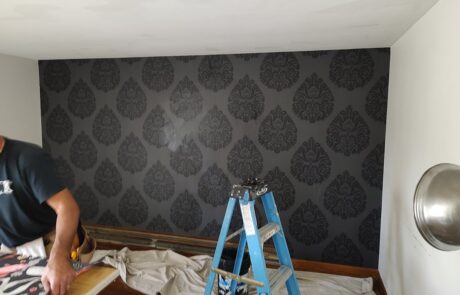
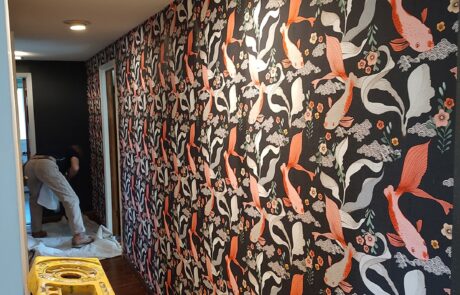
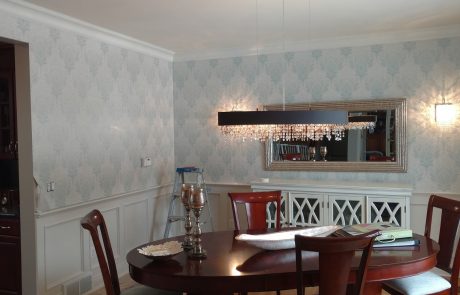
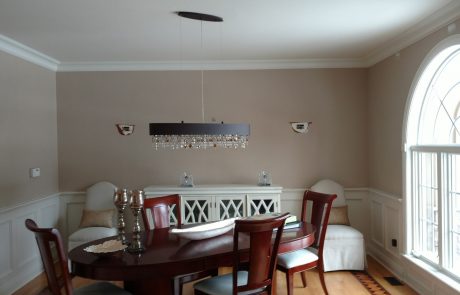
The first two pics are a mural we hung over a stairwell in Buffalo. The second two pics are a house we did in Elma.
Wallpaper is Making a Comeback! – Part 2
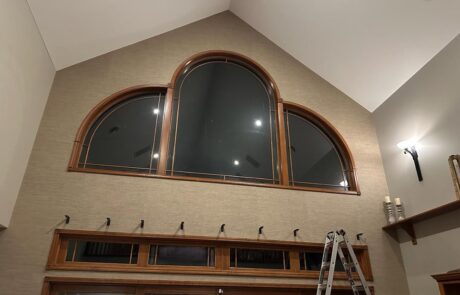
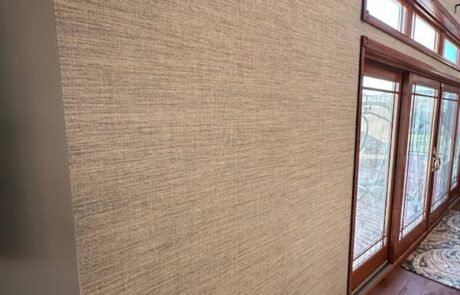
We hung grass cloth on this wall in Arcade. 21 feet at the peak.
I can’t thank you enough for the wonderful and professional job you did with the grass cloth. As much as I love grass cloth, I needed to try it and still in my mind was afraid that it would look awful. I think the wall I did it on was perfect and more than that, the professional installer was perfect too. I will definitely keep you in mind with my future projects.
-Michelle A.
CCMA with Strong Design Studio
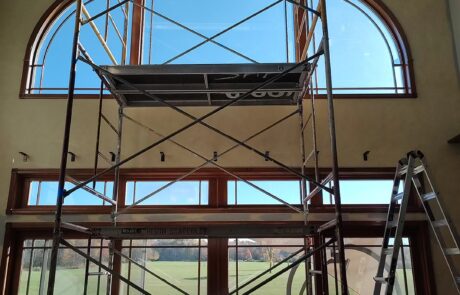
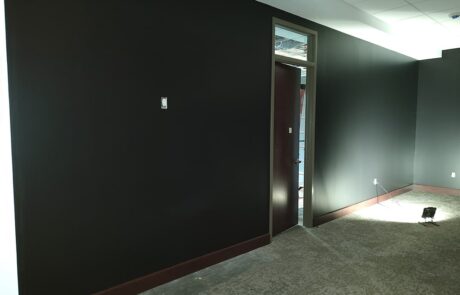
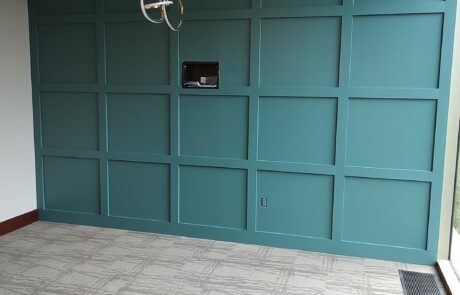
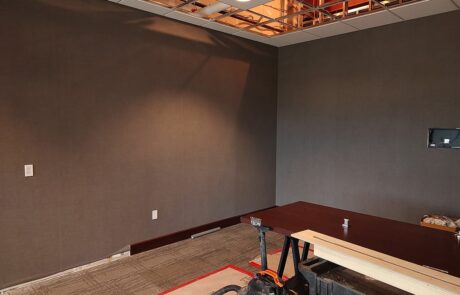
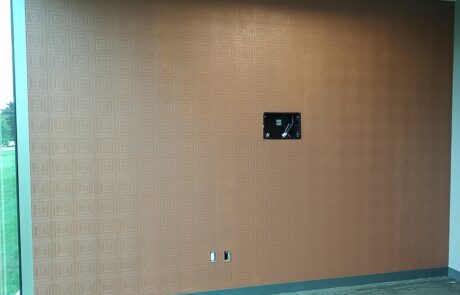
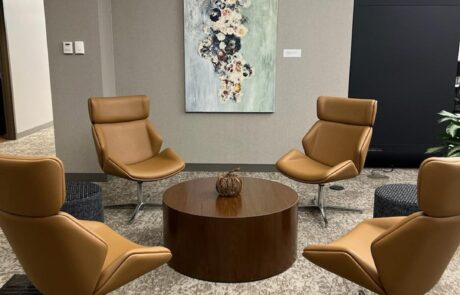
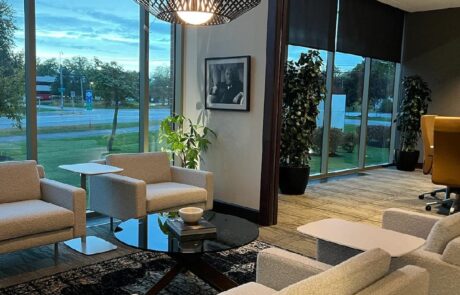
we worked on offices with Angela Strong from Strong Design Studio. We hung wallpaper, painted walls and sprayed trim. The first four pictures are of areas we completed but the place wasn’t quite complete.
Angela was nice enough to send us some pictures (the last three)with everything done. She does a really nice job.
Chez Ann Salon – Williamsville
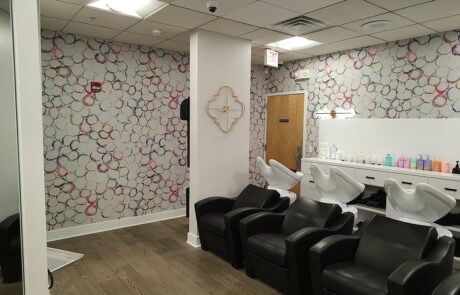
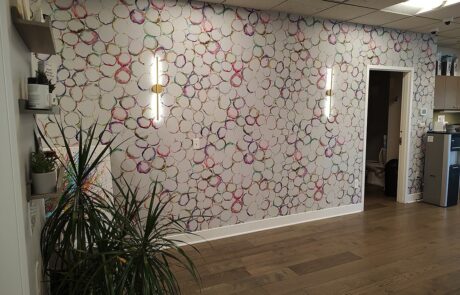
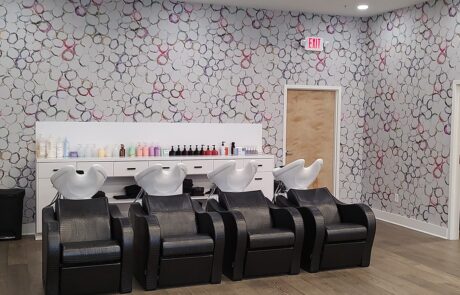
Bob Mossman and I hung this mural at Chez Ann Salon in Williamsville.
We couldn’t believe the amount of people that work there and the tons of customers. And this was BEFORE they expanded. Great place to work!
Cedarland Development Mural – Waterfront
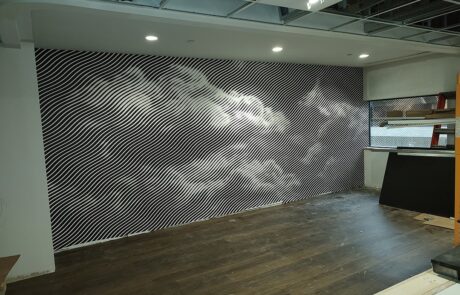
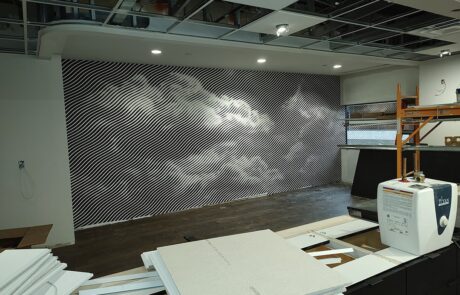
I hung this mural with Bob Mossman for Cedarland Development down on the waterfront. Pretty wild stuff. When we unrolled it, we thought it was a misprint as all we could see was black wavy lines. We called the manufacturer and they assured us that once we got it on the wall, we would see the pattern.
First of all, it makes you dizzy when you are up close to it and you cant really see the pattern. When you back up about 15 feet…wow. Pretty cool!
Residence – Elma, NY
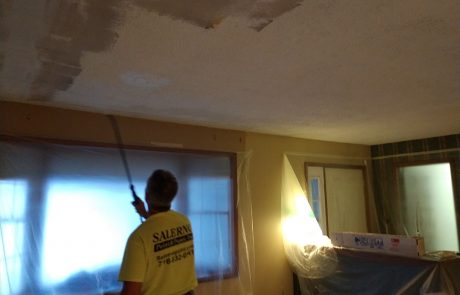
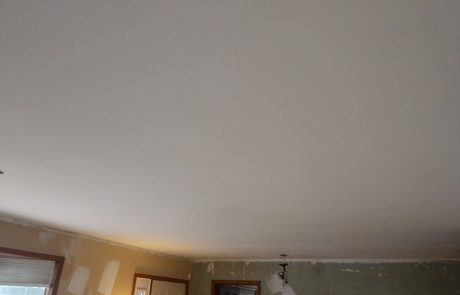
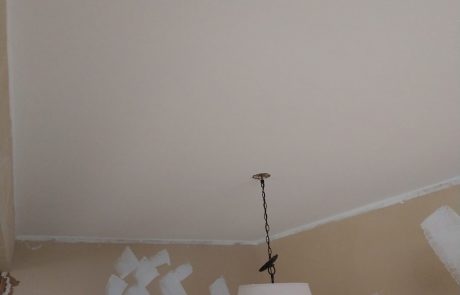
We removed texture from ceilings in Elma last week. We couldn’t use our Festool vacuum sander as the ceilings had been painted previously.
We had to go old school and spray with garden sprayer and scrape. Pic 1 and 2.
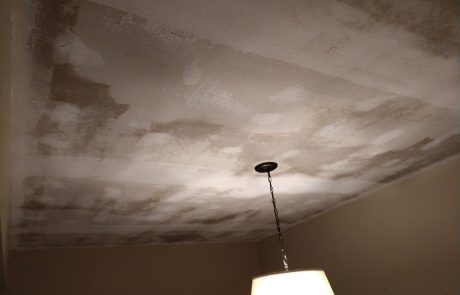
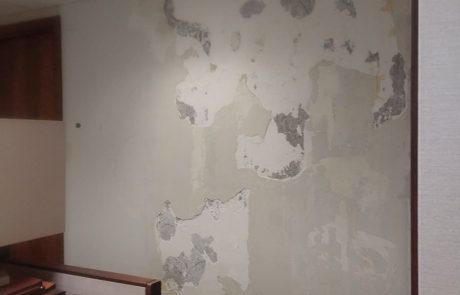
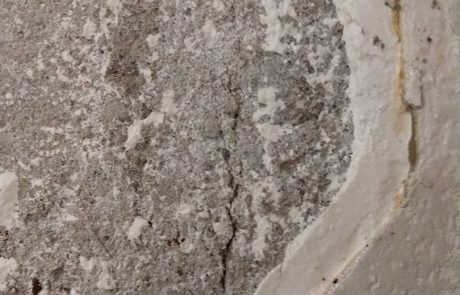
What made this job a bit more interesting was the original drywall install and finish. Normally, we have a little bit of repair work. However, the original seams were so concave (pic 3), we had a lot of finishing to do.
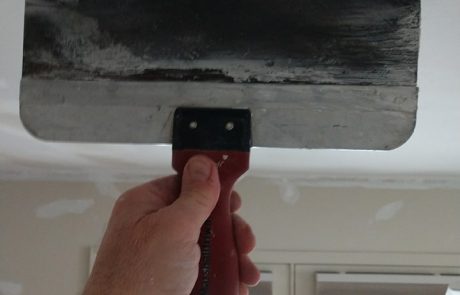
We actually ended up applying joint compound with a roller and finished with 14” knife. Took a few coats, but ceilings came out nice.
Old Plaster
More of the same job at Liberty Building. We stripped all the existing wallcovering in all the corridors. Approx.. 1400 yards. The walls weren’t prepared properly previously and the removal did a lot of damage. Most of the walls were drywall, but we did run into some old plaster walls also. The ones pictured here seemed fine when we stripped and when we installed in late July. Everything looked great. However, once the heat came on in October and things really started to dry and shrink in, the customer pointed out a couple softball size humps in the wall. The existing top coat of plaster had popped. We stripped wallcovering and started scraping. When we were done scraping we had a mess. First pic. It was down to base coat in a few areas. Second pic. We installed base coat Third pic. Intermediate coat and finally top coat. Fourth pic. Then primed and installed new.
Grasscloth
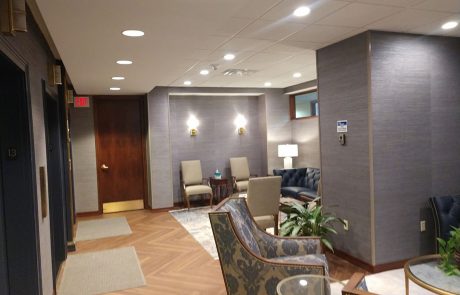
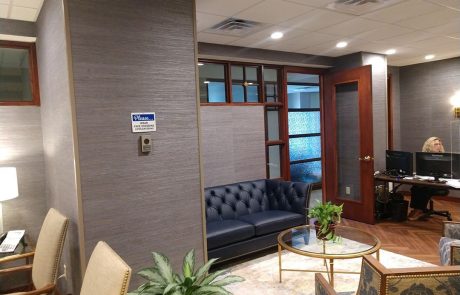
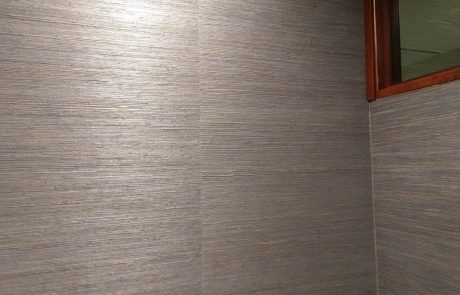
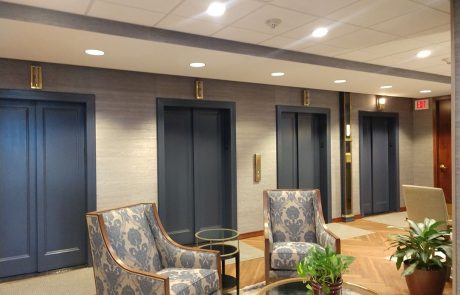
We started a large job prior to covid outbreak and are just finishing. Attorney office at covering most of 2 floors at the Liberty Building. One of the last parts of the job was the Reception area. Don’t have before pics but the finished product is pretty nice. We removed existing wallcovering and repaired walls (lots of damage). Stained and finished new doors and painted existing elevator doors. We installed Grasscloth, which some people don’t like, because you can see every sheet. But the customer likes it and I think everything looks great.
LimeWash
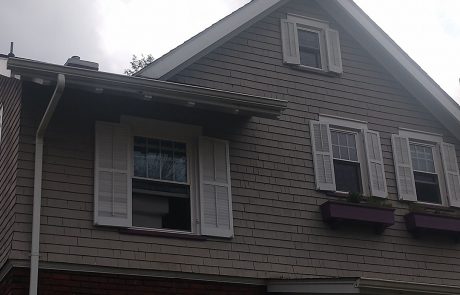
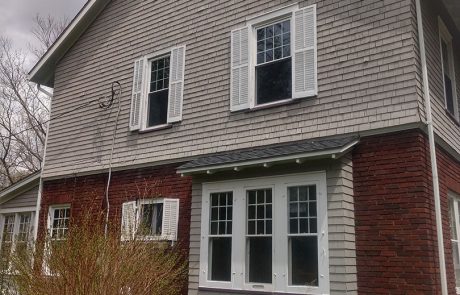
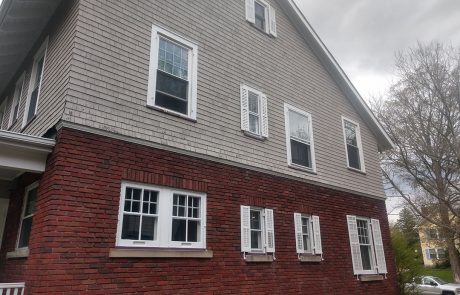
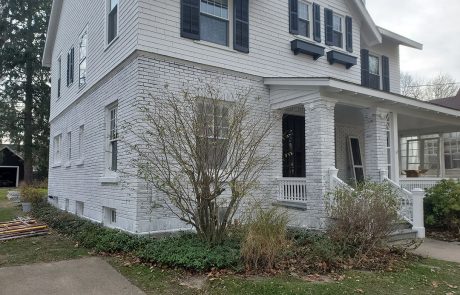
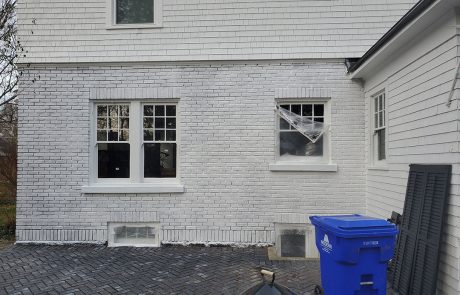
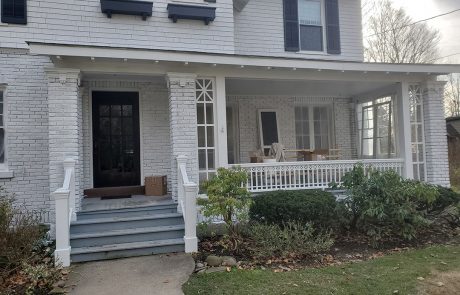
We started this large exterior kind of late in the season. We Worked with Brena from Nordic Bison Interior designs. She picked the colors and specified the lime wash on the brick. We had never done limewash before.
We removed all shutters, storms and brought to our shop for prep and paint and some repairs. They are the original shutters and they are close to 100 years old. The first 3 photos are “before” pics.
We powerwashed siding and brick. Prepped all window sash (prime, glaze, caulk). Replaced some of the fascia where gutters attach as much of them were rotted. One problem with working on an old house is all the wood pieces are “true.” A 1”x6” is actually 1”x6”. Today they are 1’x5 1/2” so we had to buy 1”x8” and rip down to 1”x6”. A few pieces of cedar siding needed to be replaced and some resecured. We primed all new wood and applied 2 coats 100% acrylic paint.
The Lime wash the interesting part. We spray applied and backbrushed. We watched a few Youtube videos to get some ideas. Some people apply the Limewash and then gently “hose off” some of it. Brena decided that we would let it weather naturally. I think it came out pretty well. All that was left after that was install shutters and storms and some touch ups.
Boys and Girls club of Elma Marilla Wales
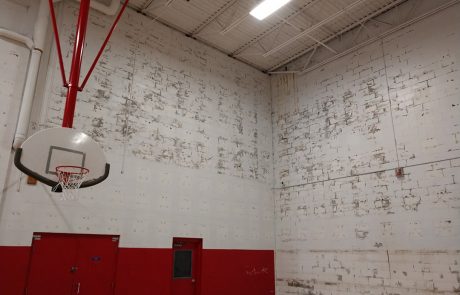
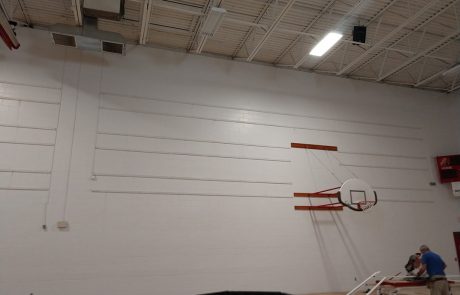
The Gym sustained quite a bit of water damage in a wind/rain storm over the summer. They’ve been waiting to do the repairs and the Coronavirus provided a long closure of the club. Perfect for what we needed to do.
Bob Mossman and I practiced a little social distancing in the gym a couple weeks back.
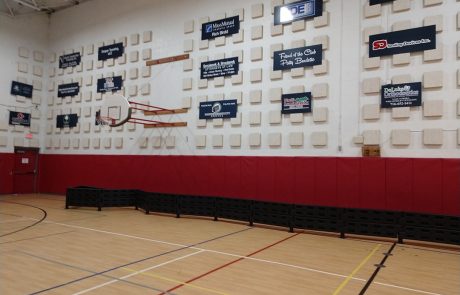
We started by removing the blue advertising banners. 1st pic
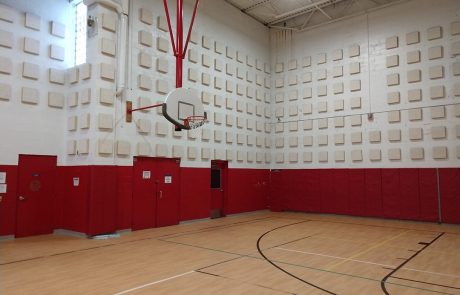
We removed the square sound deadening panels on the walls. 880 of them. 2nd pic We also removed the brackets that the panels hung on. They were riveted into the block walls. Small sledge hammers and prybars were needed.
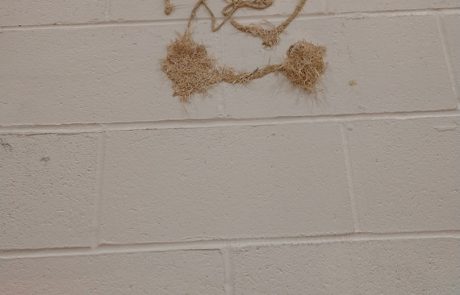
We then had to scrape off the glue that was also used to hold the panels in place. 3rd pic
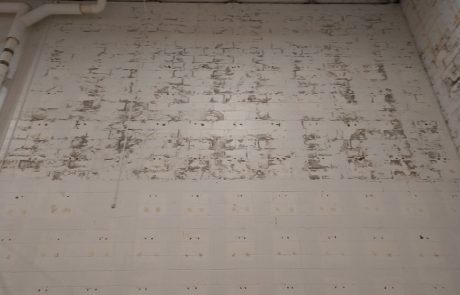
The south and west walls were peeling badly and needed to be scraped. 4th and 5th pic
We then had to go back and fill the holes from the brackets 1760 of those.
Then we sanded and scraped some more.
Brad and Erik (from the club) removed the pads from the lower 6’ of the gym and helped take all the panels, etc. to a dumpster.
Walls were finally ready for primer and paint. Chris and Don applied Oil base primer on south and west walls and water base primer to the north and east.
All wall were double coated with Semi gloss paint.
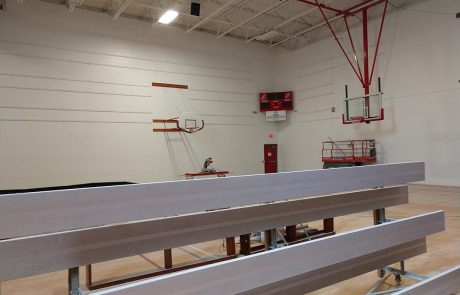
Next we had to install 1”x3” so that the banners can be reinstalled. 6th and 7th pic
we will go thru and paint the north and east walls along with all the 1”x3”. Then reinstall the advertising banners.
Then we will install the new 6’ pads. Maybe a new color?
And finally install new base and clean the floor.
New Mighty Taco – Sheridan Drive
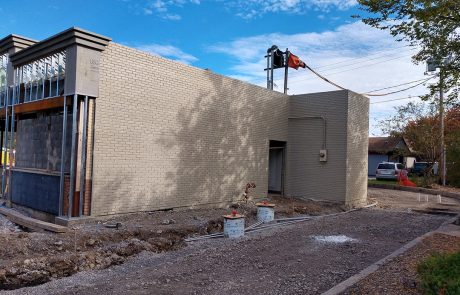
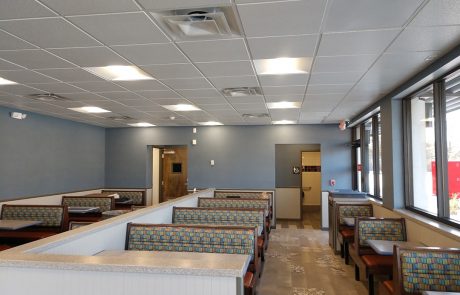
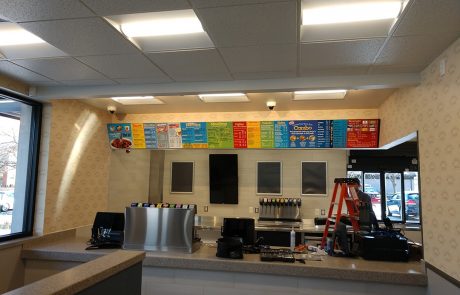
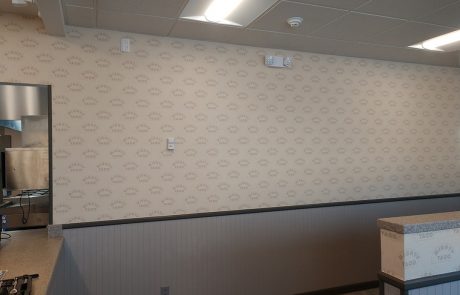
Opening January 13th, we’ve been working on this one on and off for a little while. We painted the exterior on a Saturday and Sunday back in October and went back to paint the dumpster enclosure mid November.
Painted a bunch of the trim and stained doors at our shop in mid December. We started interior painting Christmas Eve and painted ceilings and primed walls for wallpaper. After Christmas, we came back and finished trim painting. We hung wallpaper on New years eve and January 2nd. We stained the ends of benches and touched up this week.
Buckle – Walden Galleria
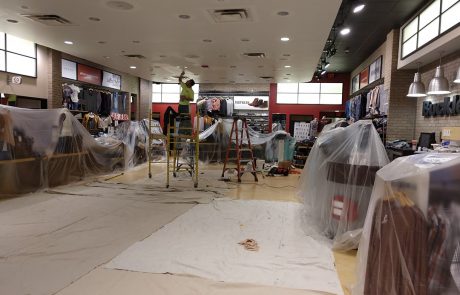
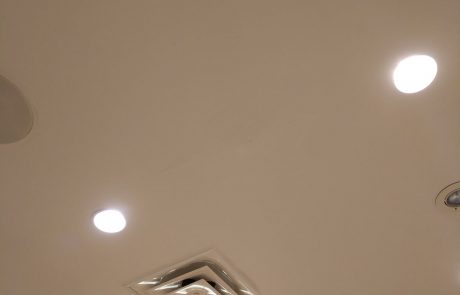
Worked overnight here to repair water damaged ceiling and repaint entire ceiling.
Lots of prep time moving and covering merchandise and floor. We repaired water damaged areas of ceiling using Durabond EZ Sand 20 & 5 along with fans and a heat gun to get patch to dry. Some areas needed 3 coats of mud.
Foyer/Great room – Amherst, NY
Worked with Decorator Nancy Gaglione. Repaired damaged area of walls and ceiling in great room. Painted walls, ceiling and trim in Great Room. Repaired some water damaged areas in kitchen. Painted walls, ceilings and trim.
Scuff sanded and painted stringer, risers, treads, rails and spindles in foyer. Installed 10” striping using same color with different sheen.
Mighty Taco – Niagara Falls Blvd.
Well, now that the NFL playoffs are over, what do you do on a Sunday?
We worked overnight at Mighty Taco on Niagara Falls Blvd. and stained and finished some trim for a customer who was in a bit of a hurry.
Pics 1 & 2 show Chris, Joe, Cliff and Chris getting the Mighty Taco prepped on Sunday night into Monday morning. The old wallcovering has been removed and they are in the process of covering lights, booths, floors, etc. so we can spray the ceiling. Once the ceiling is sprayed, we spray the hanging lights. Then plastic is removed, walls are prepped for wallpaper and door frames painted. Then Tom and Bob go in Monday night into Tuesday and hang the wallcovering.
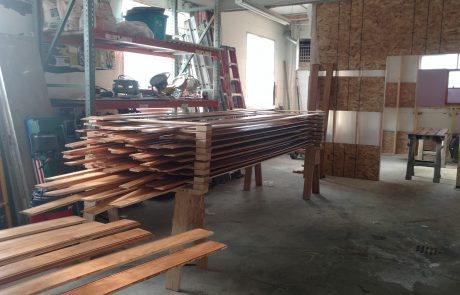
Prior to starting this job on Sunday, Joe, Don and Tom were in the shop Saturday staining and spraying a coat of sanding sealer on 1200 feet of trim. While the other guys were at mighty taco, Tom went back to the shop and sanded all the trim. Joe and Tom sprayed the trim Monday morning. This was our first time using Tom Dobinski’s rack system. It worked great. Saves a lot of space.
Re-Do!
Great Customer! We painted and installed wallcovering in December for this customer in Spaulding Lake.
They hate the wallcovering. Cant live with it! First pic.
We went in and stripped it so the homeowner has a blank wall to hang wallpaper samples. Second pic
We will install the new paper once a selection is made.
MVP Repairs!
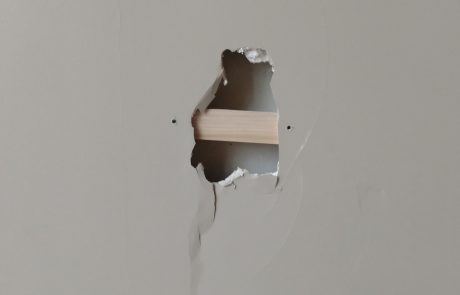
The first picture is the result of a parent disagreeing with selection of team mvp at a banquet held Saturday night.
The story goes that the parent thought that his kid should have won the MVP award. He approached the coach after the banquet. Ended up punching the coach and all hell broke loose resulting in the wall being damaged. Some great parenting/coaching going on there!!!
We needed to get the hole repaired quickly as the facility had another event Tuesday evening.
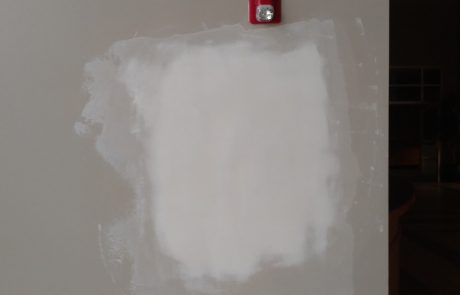
We got there Monday morning. The damaged area was approx.. 1’ wide by 3’ long. We did the repairs Monday using EZ sand 5 (3 coats) and a top coat of bucket mud. 2nd pic.
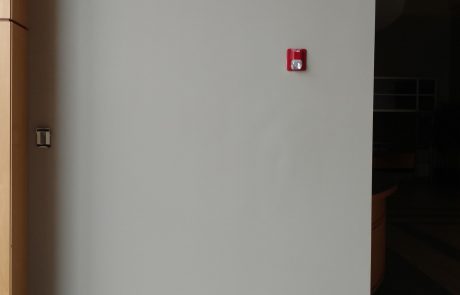
We went back Tuesday morning to sand, prime and paint w dry time decreased with the help of a fan. Pic 3.

